Introduction
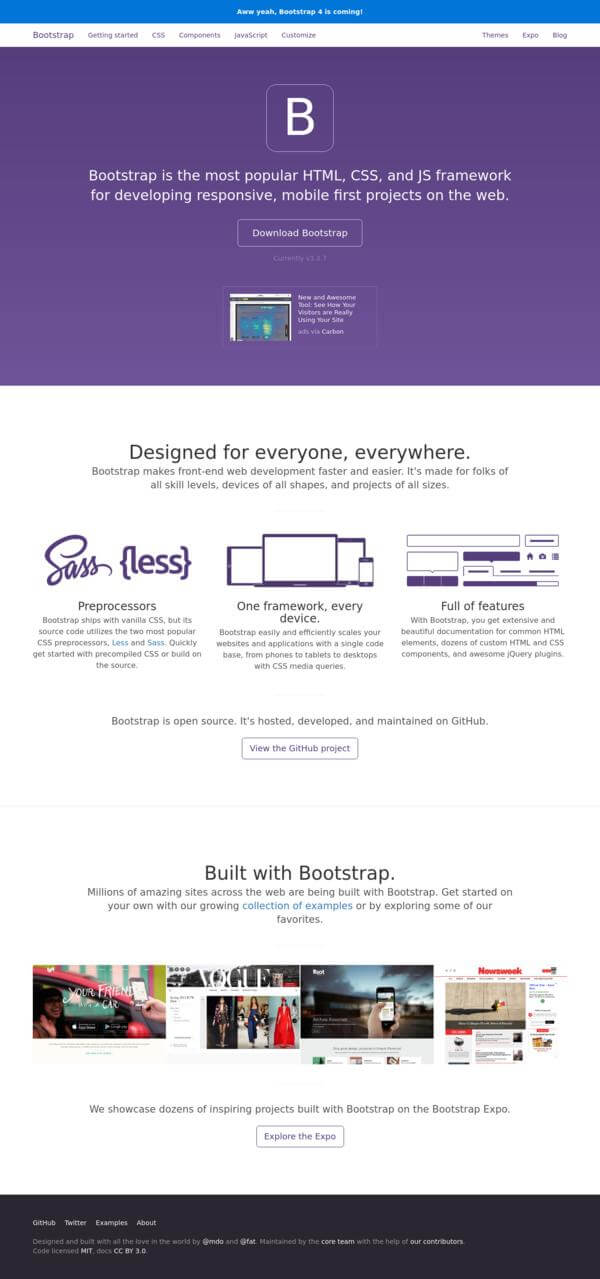
Restpack Screenshot API is an easy to use RESTful web service that can capture screenshots of live web pages and deliver the results in several formats. The service sits on a fully functional browser rendering engine with rich html / css / js capabilities.
Quick Start
Here are some code samples you can use. Don't forget to obtain a token here.
You can find detailed usage information below.
Authentication
With each API call, you must provide an authentication token. To create a new access token please refer to user tokens page on your account dashboard.
You will need to use your Direct Access Token for simple API calls.
You can either provide the access token within the querystring or as a header.
- If you wish to use the querystring method. Provide the token as
access_tokenquerystring parameter. As inhttps://restpack.io/api/screenshot/v7/capture?access_token={TOKEN} - In case you want to use a header, please provide the access token in
X-Access-Tokenheader.
Errors
Access token errors are represented in 4xx class HTTP errors.
- 401 - in case no access token is provided.
- 402 - when the account balance is not sufficient for this API call.
- 403 - when the access token is not valid / revoked.
Response Modes
By default, the API returns the raw image itself. This is the easiest way to consume the API. You can stream the result back to a file, to a web request or any other storage service.
Meanwhile, it is possible to receive a JSON response using json: true parameter.
When you request a JSON response, API will return a JSON object with a publicly accesible URL to the resulting screenshot image. You can use this image directly on your websites or access the file from this URL and save it elsewhere. Using this URL is not counted against your API call limits and it is being hosted over our CDN servers.
JSON responses simply contain an image URL and a cached field to indicate if the image is being served from cache:
{
  "cached": true,
  "height": 768,
  "width": 1280,
  "image": "https://cdn.restpack.io/a/cache/...",
  "remote_status": 200,
  "run_time": 1166,
  "url": "https://google.com"
}
Endpoint
Capture and return a screenshot
In order to capture a screenshot, you simply need to invoke a GET request on the following URL.
All parameters should be passed in querysting.
Parameters
It is required to provide one of url or html parameters as the document source.
| urlurl | The URL of web page, including the protocol that you want to capture. Example: http://example.com |
| htmlstring | Raw HTML string of a page that you want to capture. Example: <p>Test</p> |
| access_tokenstring | Your personal access token for API access. Example: XXXXXXXX |
| jsonboolean | Return a JSON response with the resulting image's URL instead of the image itself. Default: false |
| privacyboolean | Ensure that the captured document does not get cached / stored for further use. You can not use json mode with this setting as it would not be possible to provide a CDN URL. Default: false |
| cache_ttlnumber | Time in seconds for the resulting image to be cached for further requests. Max: 1 week |
| filenamestring | If specified, ensures that the resulting file is saved with the given name. Example: myimage.png |
| modeenum | Capturing mode. Please see below for details. Default: fullpagePattern: fullpage | viewport | element |
| formatenum | Preferred image output format. If you need a raw html string you can pass html as format Default: pngPattern: jpg | png | pdf | html |
| widthinteger | Preferred viewport width in pixels. Default: 1280Min: 320Max: 2000 |
| heightinteger | Preferred viewport height in pixels. Default: 1024Min: 160 |
| thumbnail_widthinteger | In case you want a thumbnail image, provide a preferred width. Min: 10Max: 3000 |
| thumbnail_heightinteger | Preferred thumbnail height, requires thumbnail_width to be set, unbounded if omitted. Min: 10Max: 3000 |
| cssstring | Additional CSS string to be injected into the page before render. |
| jsstring | Additional JS string to be injected into the page before render. |
| delaynumber | Time in milliseconds to delay capture after page load. Default: 500Max: 20000 |
| user_agentstring | Custom user-agent header string for the web request. Default: Chrome Compatible User Agent |
| headersstring | Additional headers seperated with newline Example: X-Test: header\nAccept-Type: html |
| element_selectorstring | A CSS selector to be used with element rendering mode. |
| omit_backgroundboolean | Do not render with default white background. You can use this option to generate transparent PNG images. Default: false |
| retinaboolean | Generate retina sized screen capture (2x device pixel ratio). Default: false |
| emulate_mediaenum | Force CSS media emulation for print or screen. Default: screenPattern: screen | print |
| allow_failedboolean | By default, any response from remote server outside http 200-299 status codes generates an error. If you wish to capture error pages, pass true. Default: false |
| waitenum | Wait until window load event fires or network becomes idle before capturing the page. By default we wait for the load event but if you are capturing pages with async content / lazy loaded images etc, waiting for network might work better. Third option is dom, which basically waits for domready event on the main window. Default: loadPattern: load | network | dom |
| shutterstring | Wait until a DOM element matching the provided css selector becomes present on the page. You can control when you want to capture the page using this parameter. The process times out after 10 seconds. Example: h1.someclass |
| block_adsboolean | Block / hide ads on the page. Default: false |
| block_cookie_warningsboolean | Block / hide European Union cookie warnings before capture. Default: false |
| grayscaleboolean | Render document with grayscale filter Default: false |
POST mode accepts the exact same parameters but you need to use a JSON or url encoded body. access_token parameter still needs to be passed in the querystring or via x-access-token header.
Request & Response Sample:
{
    "cached": true,
    "height": 768,
    "width": 1280,
    "image": "https://cdn.restpack.io/a/cache/...",
    "remote_status": 200,
    "run_time": 1166,
    "url": "https://google.com"
  }
Retrieve usage information
To get your plans latest usage information, you need to invoke a GET request on the following URL with your access token.
As a result, you will get a JSON response with a date range of usage, your plans monthly conversions limit in the limit field, your used conversions in the total field and last seven days usage stats in days field.
Parameters
| access_tokenstring | Your personal access token for API access. |
Request & Response Sample:
{
  "days": [
    {
      "count": 6,
      "day": "2019-05-06T00:00:00Z"
    },
    {
      "count": 9,
      "day": "2019-05-07T00:00:00Z"
    },
    {
      "count": 1,
      "day": "2019-05-08T00:00:00Z"
    },
    {
      "count": 31,
      "day": "2019-05-15T00:00:00Z"
    },
    {
      "count": 1,
      "day": "2019-05-16T00:00:00Z"
    },
    {
      "count": 3,
      "day": "2019-05-17T00:00:00Z"
    },
    {
      "count": 1,
      "day": "2019-05-18T00:00:00Z"
    }
  ],
  "from": "2019-05-01T00:00:00Z",
  "limit": 1000,
  "to": "2019-05-20T11:58:06.604980595Z",
  "total": 52,
  "workers": 1
}
Render Modes
Full Page

This is the default operation mode of the API. You can control the width of captured viewport using width parameter. height parameter sets the viewport height and might change how sites behave.
For example, if you wish to capture with an iPhone 6 viewport size, the width parameter should be set 375 and width 667. While using mobile viewports, don’t forget to also provide a user agent header.
The engine will figure out the complete height of the page and return the entire screen capture. height parameter itself does not restrict the final image size. If the page height is larger than 16.000 pixels, the render will be restricted to the first 16.000 pixels.
Note that using png format with large pages may yield huge files and degrade rendering performance. We suggest using jpg files in case you are expecting renders to be big.
Viewport

This mode restricts the rendered image to supplied viewport size (1280x1024 by default). You can think of this as an actual screen capture of a desktop with full screen browser. Whatever content outside the viewport will not be captured.
Note that this is not to create specific size thumbnails of web pages. For that purpose please check Thumbnails section. When you specify a small viewport, websites might degrade to mobile sites, response web pages will respond by shrinking and if the content is smaller than the viewport, you might not receive an image in exact size of the viewport.
Element

If you wish to capture a specific element within the page (maybe you want to have a chart captured, or the list of latest headlines, etc.) you can specify a CSS Selector for that element using element_selector parameter and selecting mode: element. In this mode, the page will be rendered in specified viewport size (1280x1024 by default) but only the rectangle of requested element will be captured.
If the element is not found, you will receive an error.
Features
Thumbnails
The API will return a full size render by default. If you want to generate smaller thumbnail images, provide a thumbnail_width parameter. This will ensure that the resulting image will have the specified width.
If you omit the thumbnail_height parameter, it will be autmatically determined according to specified width. If you also provide a thumbnail_height then the image will be cropped to the strictly specified thumbnail size.
Formats
Restpack HTML to Screenshot API can generate JPG, PNG and PDF files. The default is PNG with losless compression. The JPG output provides the smaller sizes but has a fixed 80% quality setting.
Delay
By default, capturing engine waits for the page load and then 2 more seconds for initial javascripts to settle their rendering. You can control this duration using delay parameter (in milliseconds) from instantaneous to 10 seconds.
TTL
The API caches captured screenshots up to a specified time period. If you request a screenshot of a previously cached web page, result will be provided from the cache. It is possible to control the duration of cache using ttl parameter (in seconds)
Headers
While the service uses reasonable defaults for the request headers, you can customize them as you wish.
user_agentparameter customizes theUser-Agentheader.headersparameter is the freeform one. You can pass any string containing headers seperated by\n.